Today we’re talking about some of the most useful tools in your plant-based kitchen. Why? Because having the right tools and equipment will make transitioning to a plant-based diet so much easier.
My clients often ask me what kind of equipment they need to cook plant-based meals. Despite what retailers would have you think, you really don’t need tons of fancy gadgets or 10 different knives. The tools that help you cook well in a plant-based kitchen will help you in any kind of kitchen. Plus, they’re really quite basic!
Having the right tools won’t just make plant-based cooking easier. It will also speed up your cooking, improve the food you make, and increase the number of ways you can use a single ingredient. Plus, good tools make the process of eating more plants so much more enjoyable.
If all of that can be achieved simply by having the right tools, investing a little bit of time into learning what those tools are seems worth it, right? So let’s get into it!
The key tools you need for your plant-based kitchen
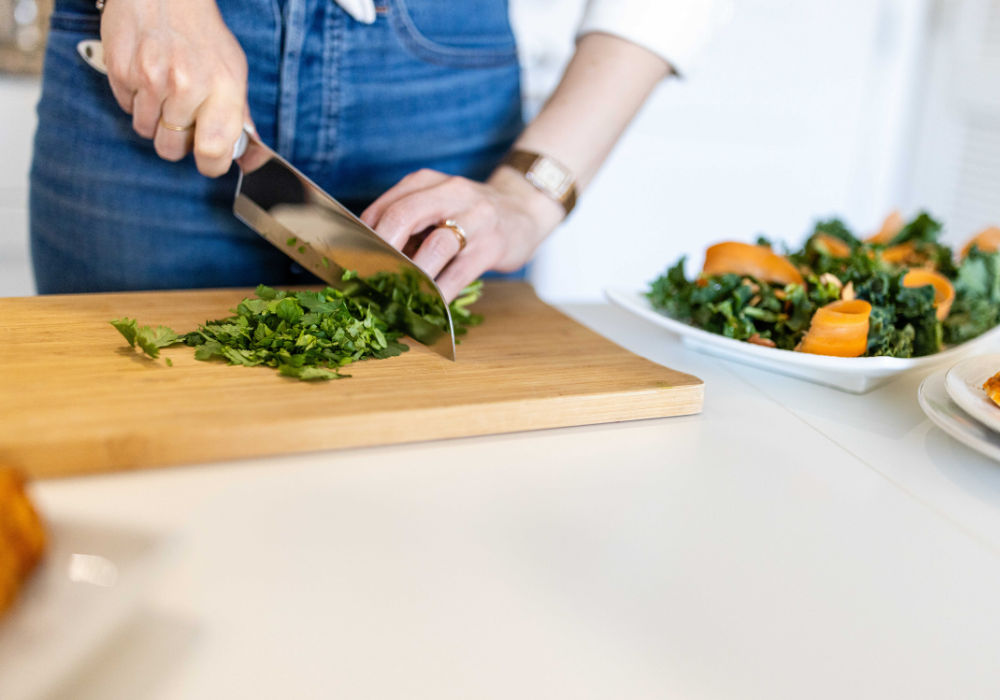
A good sharp chef’s knife
No matter what others swear by, I firmly stand by the sentiment that a good sharp knife is THE most useful tool in your plant-based kitchen. It doesn’t matter your skill level or the kinds of meals you make. A high-quality sharp knife will dramatically improve the food on your plate.
And before you ask, no, having a sharp knife does not mean you’ll cut yourself more often. In fact, it means the exact opposite. A sharp knife is easier to control because it cuts exactly where you apply pressure. That means no more knife blade slipping sideways when you’re trying to cut a tomato.
Chef’s tip: A good sharp knife starts with the knife itself, but it doesn’t end there. You need to sharpen your knives regularly. Depending on how often you cook, the specific frequency will vary. At a minimum, though, properly sharpen your main knife every month.
I use Cutco knives, which are high quality, sturdy, and beautiful. That being said, there are many other high-quality knife companies out there. Find one that works for your hand size, cooking style, aesthetic, and budget.
Two wooden cutting boards
Having been a guest in many kitchens and lived in a handful of countries now, I’ve come to realize that using a cutting board is not the norm everywhere. But it should be!
Cutting on a cutting board not only protects your counters but, equally importantly, it protects your knives! Most kitchen countertops these days are made of stone, laminate, or steel. All these are horrible materials that dull your knife with every slice.
I personally prefer heavy wooden or bamboo cutting boards (as opposed to plastic or glass), for a few reasons.
- Wooden cutting boards don’t slide around when you’re using them as they’re usually fairly heavy.
- Wood is a relatively softer material than plastic (except for oak, which is super hard, so avoid it for cutting boards), and definitely softer than glass, putting less stress on your knife blade
- Wooden cutting boards look more beautiful than plastic
- I don’t mind eating a few wood shavings in my food, but I definitely mind eating microplastic particles!
Chef’s Tip: In even the smallest kitchens, you should have TWO, not one, cutting boards. I suggest one smaller board reserved exclusively for fruit, and one large board for everything else. Nothing’s worse than cutting up a juicy watermelon only to have every bite taste like onions because you cut onions in the same spot the night before. If you eat meat, do yourself a favor and get a third cutting board and use it exclusively for meat. This will help reduce the risk of foodborne illnesses that often come from handling raw meat.
A few high-quality pots and pans with heavy bottoms
There’s nothing worse than spending minutes perfectly dicing onions, only to have half of them burn in the pan later. I know it seems like this happens because you turned the flame up too high, but that’s usually not the case.
The quality and weight of your cookware play a huge role in how well your cooking turns out!
Pots and pans made of cheap metal without a reinforced bottom heat unevenly, causing certain parts of your food to cook faster than others. Low-quality cookware also burns often, leaving you with brown stains in your pots and longer cleanup sessions scrubbing stubborn burn marks.
The reality of this really hit home for me when we bought a high-quality pan that was nearly identical to our cheap Ikea pan, except that it was far heavier, and had a thick, heavy bottom. No matter what I cook, it burns in the cheap pan while evenly cooking in the high-quality pan. If you have similar pans like this, I encourage you to run this experiment for yourself. You’ll be shocked by how different the cooking experience is between the two pans.
Everyone’s cookware collection will look a bit different depending on what kind of cuisine and dishes you make. Here are the basics I recommend as a starting point:
- A large shallow pan with a lid (fry pan/saute pan)
- A small cast iron or reinforced pot with lid to cook grains and heat up leftovers
- A larger soup pot with a lid
- A tall thin pot for pasta & veggie stock
My favorite metals for cookware are stainless steel and cast iron. Use stainless steel for pans you need to lift up often (like a skillet with sloping sides and a pasta pot). Use cast iron for a skillet with straight sides, a casserole pot with a lid, and a smaller pot to cook grains.
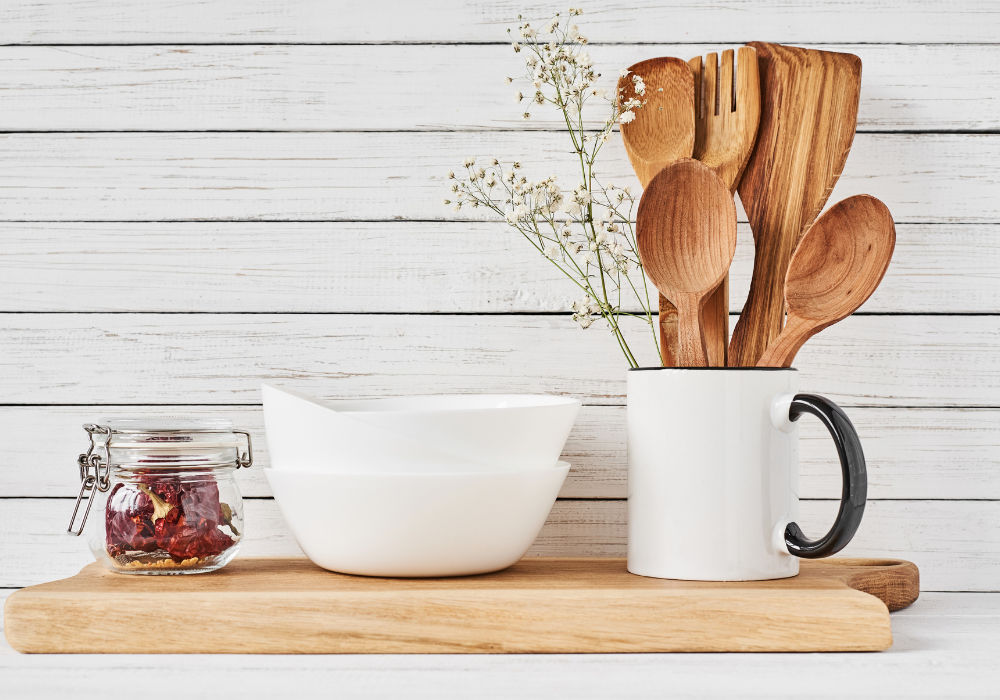
A variety of wooden spoons in different shapes
Spoons are basic tools for the plant-based kitchen, but important ones at the same time. After spending time and money curating your perfect cookware collection, don’t go and ruin it with the wrong cooking utensils!
Wooden cooking utensils should be made of uncoated, unvarnished wood. Beyond that, there are really no rules or requirements. Some of my favorite wooden spoons aren’t spoons at all, but weirdly shaped utensils that somehow fit perfectly into my hand and allow me to manipulate the food in exactly the way I want it. Find cooking utensils you love and get rid of everything else.
A variety of small and medium bowls
I’ve touted the benefits of using mise-en-place to improve your cooking many times, so I won’t go into it here. (But if you want to learn more about mise-en-place and how to implement this culinary technique in your plant-based kitchen, check out this detailed blog post I wrote.)
Suffice it to say that having an organized plant-based kitchen will help you cook with ease. Key to this is having a variety of small and medium bowls to put chopped and prepped ingredients in. These bowls can be any type of container, but round bowls with sloping sides (as opposed to square bowls with straight vertical sides, for example) are the easiest to work with. Ingredients come out of the round shape more easily and quickly without the need to scrape stubborn bits out of corners. Plus, round bowls stack more easily for efficient storage.
There’s no need to go out and buy bowls for your cooking prep, though. Instead, shop your home first. Metal and glass bowls and even old porcelain serving bowls you no longer eat with will all work perfectly.
Chef’s tip: Keep your prep bowls all in one place in a cabinet close to your cooking station for easy and speedy access.
Tupperware containers for prepped ingredients and leftovers
Despite living in an apartment with a small kitchen and minimal storage space, I have a whole cabinet dedicated to storage containers. This includes not just containers with lids (think: Tupperware), but also glass mason jars in various sizes. Excessive? I beg to differ!
Having containers on hand allows you to properly store leftovers so they last longer, but they do so much more than that. Spend a few extra minutes after grocery shopping to prep, wash, and chop produce and store it in large containers for easy use throughout the week. This is one of my simplest and most effective hacks for eating lots of veggies throughout the busy workweek. If you want to try this but don’t have a ton of storage containers, start with washed and chopped greens. Having clean, ready-to-use leafy greens exponentially increases the number of times I reach for them, as well as the amount I add to dishes. Cheers to eating our greens!
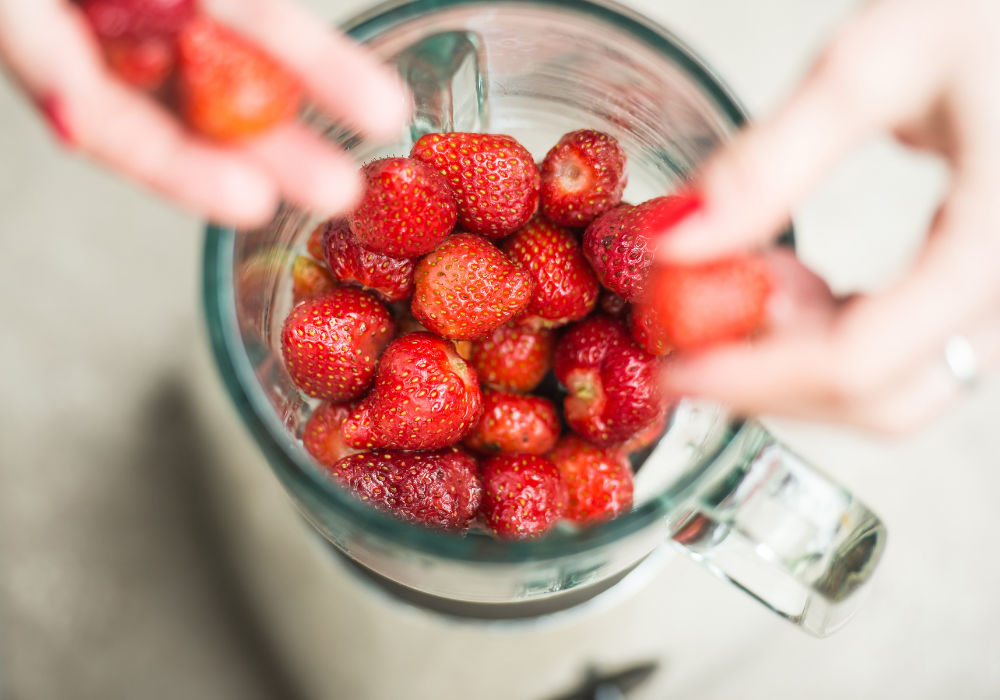
A powerful blender (800watts or higher)
There are so many power tools we can clutter our plant-based kitchen with. But you’ll notice this list has just one: a blender. With the combination of a large bowl, a whisk, your arm power, a knife, and a powerful blender, you’ll be able to whip up the vast majority of recipes that call for other kitchen tools like a food processor, a mix master, or a frother.
It is important to get a high-powered blender that is 800 watts or higher, though. Anything lower than that wattage won’t be powerful enough to make silky smooth cream from nuts or fully blend up greens in a smoothie.
In my kitchen, I use both a Vitamix (mainly for smoothies and pureeing hot soups) and a Nutribullet, for whipping up cashew cream, plant-based queso sauce, gingery peanut sauce, and salad dressings. If you’re in the market for a blender, I recommend starting with a smaller blender like the Nutribullet. This is especially useful for people who live by themselves or have small families of two or three. If there’s one downside to the Vitamix (besides the hassle of cleaning it), it’s definitely the need to make large quantities of things. For my family of two, I use my small and less powerful but perfectly sized Nutribullet easily five times as often as I use my Vitamix.
So there you have it: seven key tools to transform your plant-based kitchen. These tools are basic for a reason and should be the first tools you purchase for your kitchen. Stock your kitchen with these tools so you can have fun, enjoy cooking, and whip up delicious plant-based food!
If you liked this blog post, I think you’ll love this post on How to Meal Plan.
